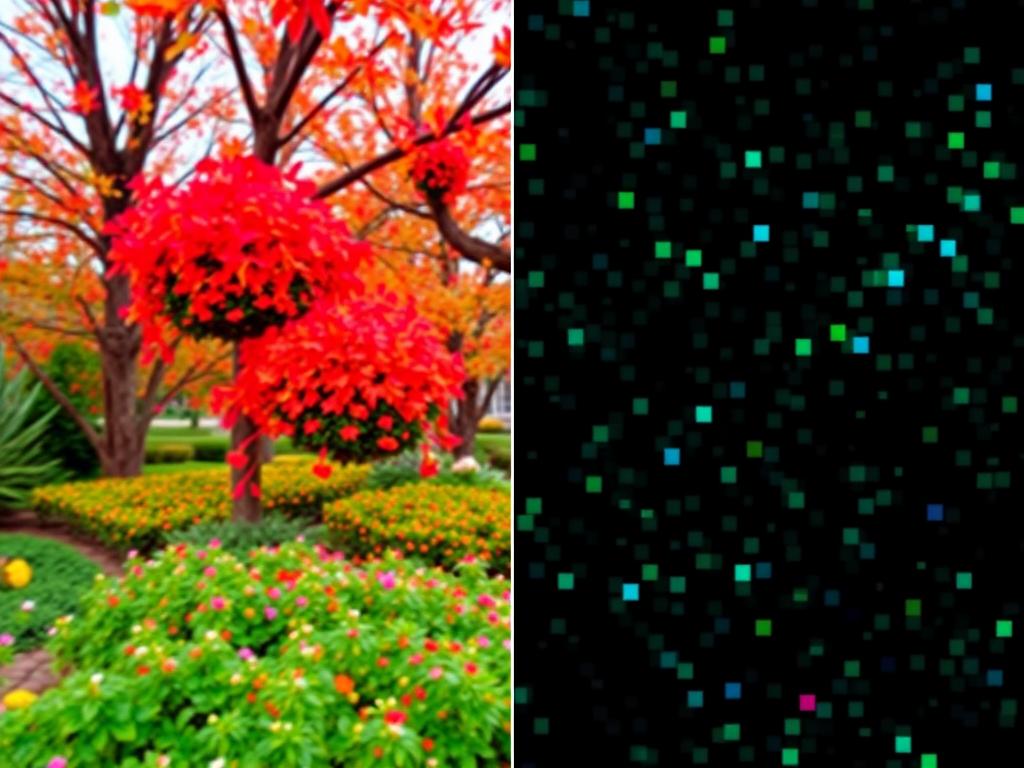
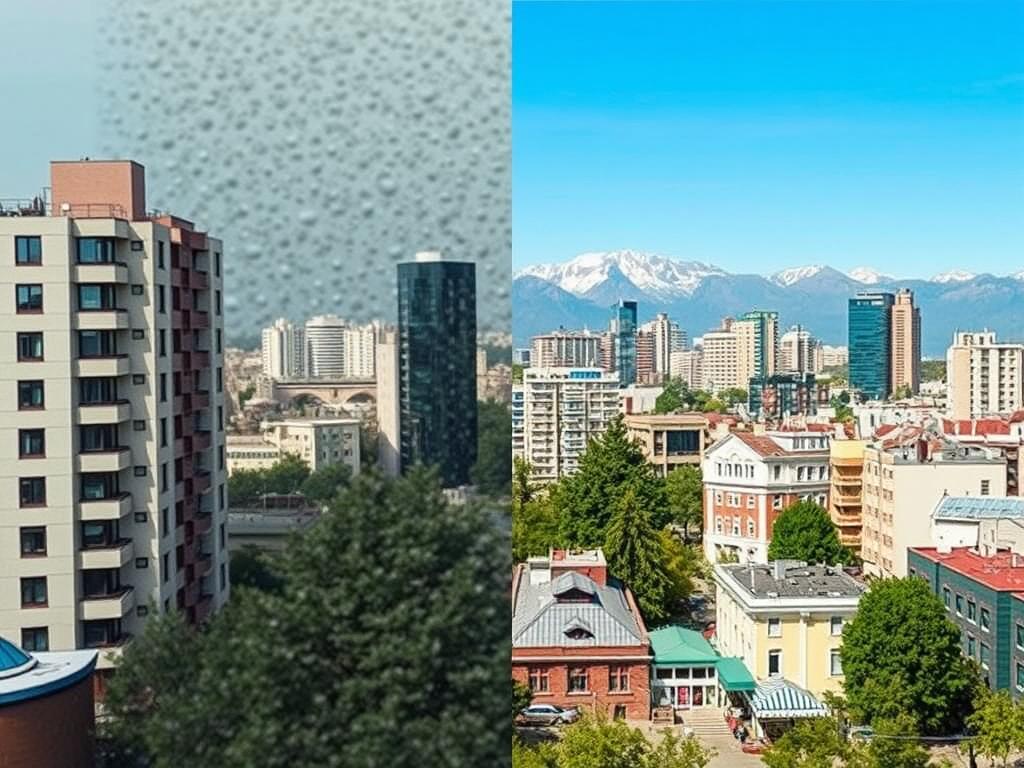
When it comes to video production and editing, achieving crystal-clear footage is often the key to grabbing viewers’ attention and delivering a professional look. Two essential techniques that play a huge role in enhancing video quality are noise reduction and sharpening. Whether you’re a casual videographer capturing family moments or a seasoned editor working on cinematic projects, understanding how to expertly apply noise reduction and sharpening in video processing can elevate your content dramatically.
Noise in video footage often appears as unwanted grain or flicker, which can distract the viewer from the main subject and make your video look amateurish. Noise reduction, therefore, is the process used to eliminate or minimize this grainy texture and other random speckles. On the other side, sharpening is the art of enhancing the edges and details in a video, helping the image look crisp, clear, and more detailed. Together, these two processes walk a fine line—they need to be balanced carefully so that reducing noise doesn’t make the video too soft, and sharpening doesn’t amplify the noise.
Understanding Noise in Video: Why It Happens
Noise is a natural artifact that creeps into video footage for various reasons. Low light conditions are among the main culprits. When shooting in dim environments, cameras tend to increase ISO or gain, which amplifies the sensor’s sensitivity but also introduces random pixels of brightness or color variations — this forms the classic “noise.” Other causes include long exposure times, older camera sensors, and even the compression algorithms used when saving video files.
It’s important to understand that not all noise is equal, and different types require different strategies for noise reduction:
- Luminance noise: This looks like grainy black and white speckles caused by brightness fluctuations.
- Chrominance noise: It manifests as colored spots or blotches, often distracting and unnatural.
To tackle these, noise reduction algorithms in modern video processing tools often apply separate treatments to luminance and chrominance noise, ensuring a clean yet natural-looking final output.
Key Techniques for Noise Reduction in Video Processing
Noise reduction can be approached both during shooting and post-production, but most control happens in editing software. Here’s a breakdown of effective noise reduction techniques:
| Technique | Description | Pros | Cons |
|---|---|---|---|
| Temporal Noise Reduction | Uses information from multiple adjacent frames to identify and reduce noise. | Highly effective, preserves detail. | Requires motion estimation; can cause ghosting if applied incorrectly. |
| Spatial Noise Reduction | Applies filters frame by frame to smooth out noise. | Works well for still or slow-moving footage. | Can blur fine details. |
| Hardware Noise Reduction | Some cameras provide in-camera noise reduction using dedicated processors. | Convenient; reduces noise before recording. | Less flexible; harder to adjust in post-production. |
With temporal noise reduction, the software intelligently compares pixels in subsequent frames and distinguishes noise from actual moving objects. This is particularly useful in scenes with consistent backgrounds. Meanwhile, spatial noise reduction is simpler but can sometimes soften edges, which is where sharpening techniques come in to compensate.
The Art of Sharpening in Video Processing

Sharpening enhances the perceived clarity of your footage by intensifying the edges where colors and luminance contrast meet. When done right, sharpening can make textures and details pop, making the video more visually appealing.
However, sharpening is not just about cranking up a slider and hoping for the best. It requires a nuanced approach because excessive sharpening can create halos around edges and amplify existing noise, defeating the purpose of noise reduction.
Common Sharpening Methods
Most video editing software offers a variety of sharpening filters. Here are some popular options:
- Unsharp Mask: An older but still widely used technique that increases contrast along edges.
- High-Pass Filter: Enhances detail by emphasizing high-frequency components in the image.
- Detail Enhancement Filters: Advanced filters that focus on boosting textures without increasing noise.
A good sharpening workflow usually begins after noise reduction is applied, ensuring that you’re enhancing real details and not the noise itself.
Sharpening Parameters You Should Know

Sharpening tools often come with adjustable settings. Understanding them helps achieve the best results:
| Parameter | Purpose | Effect if Overused |
|---|---|---|
| Amount | Controls the intensity of sharpening. | Halos and unnatural edges. |
| Radius | Defines how wide around the edge the sharpening spreads. | Too high values can cause blurry halos. |
| Threshold | Sets how much difference in brightness triggers sharpening. | Too low can sharpen noise; too high misses fine edges. |
Balancing these parameters depends on your footage and the noise level. Always scrutinize your sharpened video at 100% zoom to catch unwanted artifacts.
Balancing Noise Reduction and Sharpening in Video Processing
One of the biggest challenges in video editing is finding the right balance between noise reduction and sharpening. Remove too much noise, and the image will look soft and lifeless. Add sharpness without controlling noise first, and your footage may look grainy and unnatural.
Here are some practical tips to create harmony between these two processes:
- Start with moderate noise reduction. Don’t aim for a perfectly noise-free video as this often blurs detail.
- Use selective sharpening to enhance important details or subject faces rather than the entire frame.
- Leverage masks if your software supports them to apply noise reduction and sharpening only where needed.
- Always compare before and after; small adjustments can yield better results than aggressive changes.
Modern AI-driven tools have started to improve this workflow significantly by automatically detecting noise and sharpening edges intelligently. But even with AI, understanding the basics behind noise reduction and sharpening empowers you to create stunning videos.
Popular Software Tools for Noise Reduction and Sharpening
Here’s a quick look at some widely-used video editing tools with strong noise reduction and sharpening capabilities:
| Software | Noise Reduction Features | Sharpening Capabilities | Level of User Control |
|---|---|---|---|
| Adobe Premiere Pro | Built-in noise reduction and plugins like Neat Video | Advanced sharpening effects and third-party plugins | High |
| DaVinci Resolve | Superior temporal noise reduction in Studio version | Powerful sharpening controls with detail preservation | High |
| Final Cut Pro | Good noise reduction effects with third-party plugin support | Comprehensive sharpening tools | Medium |
| Neat Video Plugin | Industry-leading noise reduction plugin compatible with many editors | Basic sharpening included | High |
Choosing the best tool depends on your editing environment, budget, and the level of complexity in your projects.
Practical Workflow: Applying Noise Reduction and Sharpening

If you’re wondering how to weave these two techniques into your editing routine, here’s a simple step-by-step workflow to get you started:
- Import your raw footage into your preferred editing software.
- Analyze the footage to identify the noise type and level: Is this a low-light scene? Does the footage move fast?
- Apply temporal noise reduction when possible, then add spatial noise reduction for fine-tuning.
- Check the footage at full resolution to make sure noise reduction hasn’t blurred crucial detail.
- Apply sharpening carefully: start with low amounts, adjust the radius and threshold to emphasize edges without boosting noise.
- Preview the result on different devices and lighting conditions to ensure consistent quality.
Remember that every project is unique, and the ideal balance might differ depending on your footage and the final output format.
Conclusion
Noise reduction and sharpening in video processing are two pillars of producing visually compelling videos. When used thoughtfully, noise reduction clears up distracting grain, while sharpening brings important details into focus, enhancing clarity and engagement. The key lies in balancing these techniques to avoid the pitfalls of over-softening or over-sharpening, which can degrade the overall quality. From understanding the types of noise, mastering temporal and spatial techniques, to fine-tuning sharpening parameters, this comprehensive approach ensures your videos look professional and captivating. Whether you’re handling casual footage or cinematic masterpieces, incorporating noise reduction and sharpening into your workflow will always lead to cleaner, sharper, and more impressive videos.