Color grading and correction are essential steps in post-production that can completely transform the look and feel of video content or photographs. Whether you’re a seasoned filmmaker, a budding videographer, or a passionate photographer, understanding the nuances of these processes is key to elevating your visual storytelling. But what exactly does color grading and correction involve? How do you know when to apply each technique, and what tools should you use? In this article, we’ll take a deep dive into color grading and correction in post-production, breaking down the concepts, workflows, and offering practical advice for you to engage with your creative work more effectively.
Understanding Color Correction vs. Color Grading

Firstly, it’s important to distinguish between color correction and color grading. Though often used interchangeably, these two processes serve different purposes in the realm of post-production.
What Is Color Correction?
Color correction is the process of adjusting footage or images to ensure colors appear natural, consistent, and true to life. Think of it as fixing problems before enhancing beauty. For example, if a video clip suffers from incorrect white balance, poor exposure, or inconsistent color temperature, color correction is used to neutralize these issues.
During color correction, the goal is accuracy and consistency. This includes balancing the exposure, contrast, white balance, shadows, and highlights to create a uniform base for further creative decisions.
What Is Color Grading?
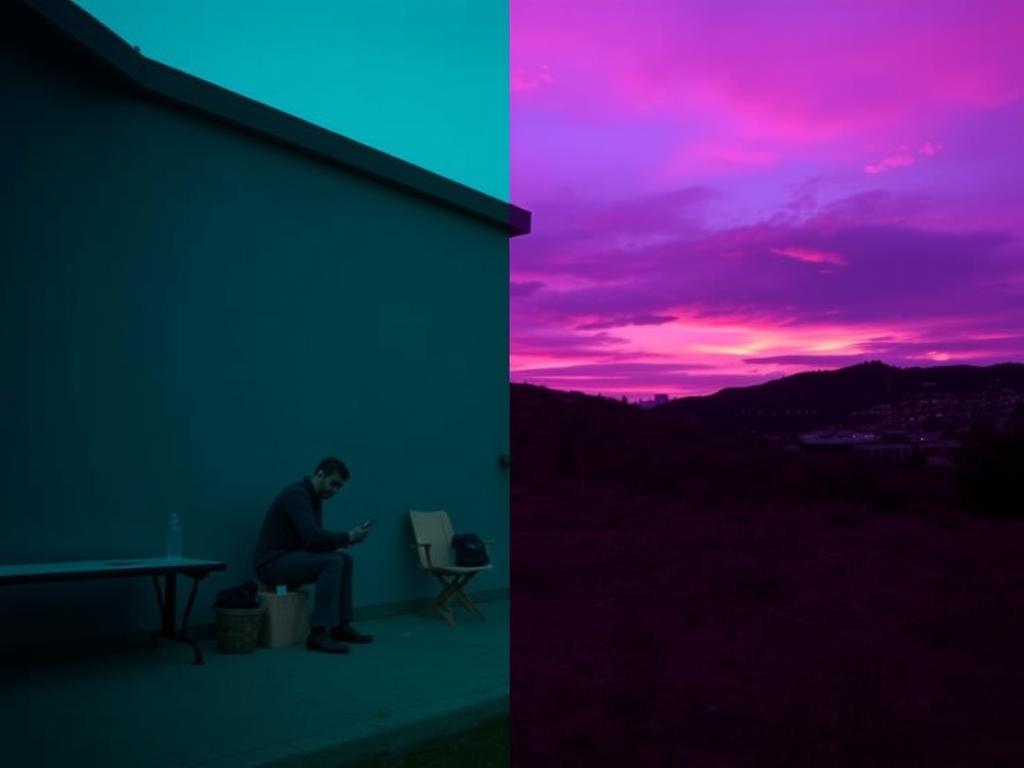
Color grading comes after correction and is the creative process where the “mood” or “tone” of the footage or images is established. This is where you can play with stylistic color tones—cool blues for melancholy scenes, warm orange hues to evoke nostalgia, or high-contrast colors for dramatic effects.
While color correction is objective, color grading is subjective and artistic. It helps create atmosphere, enhance storytelling, and evoke emotions that support the narrative.
The Importance of Color Grading and Correction in Post-Production
Post-production is where your raw footage or photos undergo a makeover, and color grading and correction play critical roles. Proper color correction can rescue footage shot in less-than-ideal lighting conditions, while thoughtful grading can make the visuals resonate with the intended feeling.
Without these processes, your projects might look flat, inconsistent, or amateurish. Here are some key benefits of mastering color grading and correction during post-production:
- Consistency: Ensures all shots within a sequence or project have uniform color tones and lighting.
- Storytelling: Enhances narrative by visually supporting mood and tone.
- Visual Appeal: Makes images and footage pop, increasing engagement and professionalism.
- Error Correction: Fixes problems like color casts, exposure issues, or white balance errors from the shooting stage.
Tools and Software for Color Grading and Correction

Thanks to advances in technology, there are a variety of tools available for both amateurs and professionals in the post-production world. Here’s a quick overview of popular software commonly used for color grading and correction:
| Software | Description | Best For | Price |
|---|---|---|---|
| DaVinci Resolve | Industry-leading software with powerful, professional-grade color grading tools. | Film & Video Projects, Professionals, Beginners | Free (Basic), Paid Studio Version |
| Adobe Premiere Pro | Comprehensive video editing tool with integrated Lumetri Color panel. | Video Editors looking for all-in-one solution | Subscription-based |
| Final Cut Pro | Apple’s professional video editing software with built-in color grading. | Mac Users, Video Editors | One-time purchase |
| Adobe Lightroom | Photo editing and organizing software well-suited for color correction and grading of images. | Photographers | Subscription-based |
| Photoshop | Versatile photo editing software offering advanced color correction and manipulation tools. | Photographers, Designers | Subscription-based |
Step-by-Step Workflow: How to Approach Color Grading and Correction in Post-Production
Getting started with color grading and correction in post-production does not have to be overwhelming. Here’s a practical workflow you can follow:
- Import and Organize Footage or Images: Start by importing your files into your preferred editing or grading software. Organize them properly to streamline your workflow.
- Perform Color Correction: Adjust exposure, white balance, contrast, and color temperature. Ensure that all clips or images look natural and consistent across scenes.
- Apply Creative Color Grading: Experiment with color wheels, curves, LUTs (Look-Up Tables), or filters to establish the mood. Think about the story you want to tell and how color influences it.
- Fine-Tune Selections: Use masks, secondary color correction, or vignette effects to highlight or suppress specific areas of the frame for artistic focus.
- Review and Compare: Toggle between the original and graded footage or images to ensure you’re enhancing, not distorting the story or visual integrity.
- Export: Render your finished product at the highest quality for your destination platform, whether for web, cinema, or print.
Common Techniques and Tips for Effective Color Grading and Correction

Even after mastering the basics, there are advanced techniques that can help take your projects to the next level. Here are some common tips and tricks:
- Use Scopes and Histograms: Visual tools like waveform, vectorscope, and histograms help objectively analyze color and exposure, ensuring precision.
- Work With LUTs Selectively: LUTs are pre-designed color presets. Experiment with them but remember to tweak settings to suit your unique project.
- Start with Balanced Shots: Cinematographers often shoot with color grading in mind. Try to capture footage that requires minimal correction to save time.
- Limit Your Color Palette: Consistency in color grading often comes from limiting color variation and sticking to a defined palette across scenes.
- Pay Attention to Skin Tones: Human skin tones are often the most sensitive area to manipulate; keep them natural to maintain viewer engagement.
- Make Use of Adjustment Layers: When grading images or videos, adjustment layers allow non-destructive editing and easy changes later.
Challenges You May Encounter in Color Grading and Correction
Like any art form, color grading and correction come with their own set of challenges that you should be ready for:
- Inconsistent Lighting on Set: Hard to fix in post, so shooting well is key.
- Color Banding or Noise: Especially in dark areas, improper exposure can cause noise that is tricky to correct.
- Over-Grading: Too much color grading can make footage look unnatural and distract from the story.
- Technical Limitations: Not all software handles grading equally well; GPU power and monitor calibration affect how you see colors during grading.
How to Overcome These Challenges?
A good approach is to always start with a properly calibrated monitor to view accurate colors. Regularly use scopes to monitor changes, avoid extremes in adjustment, and understand your software’s strengths and limitations. Planning on set to shoot with grading in mind will also reduce headaches later.
Final Thoughts: Why Every Creativist Should Embrace Color Grading and Correction
Color grading and correction in post-production are more than technical tasks; they are creative powers that let you speak visually beyond what the camera captures automatically. These processes turn raw clips or images into compelling stories filled with emotion, style, and professional polish.
Possessing knowledge in these areas opens up endless possibilities for creators in filmmaking, photography, advertising, and more. Whether you aim to fix errors or create visual magic, mastering color grading and correction enhances your visual storytelling and leaves a lasting impression on your audience.
Conclusion
In the world of post-production, color grading and correction are indispensable tools that allow creators to refine and redefine their visual content. By understanding the difference between correction and grading, employing the right software tools, and following a clear, step-by-step workflow, you can significantly enhance the quality and impact of your projects. The challenges may be daunting at first, but with practice and attention to detail, your ability to transform raw footage into evocative, polished masterpieces will grow exponentially. Ultimately, color grading and correction empower you to tell your story with greater precision, emotion, and artistry, making your creations truly stand out in a competitive creative landscape.