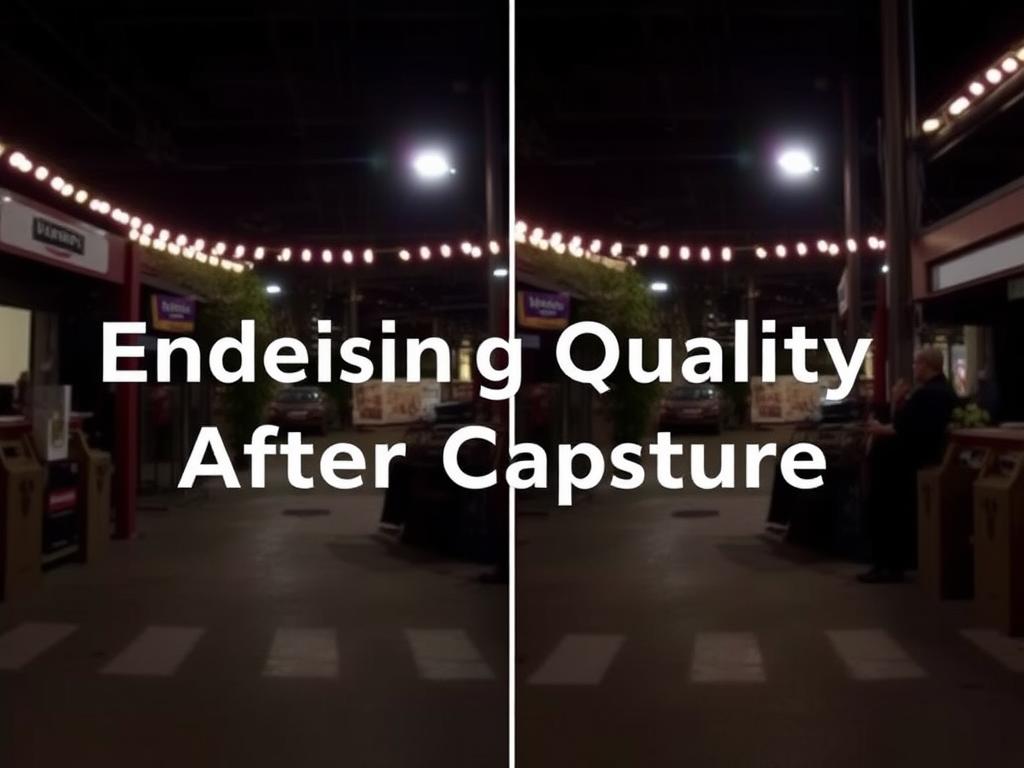
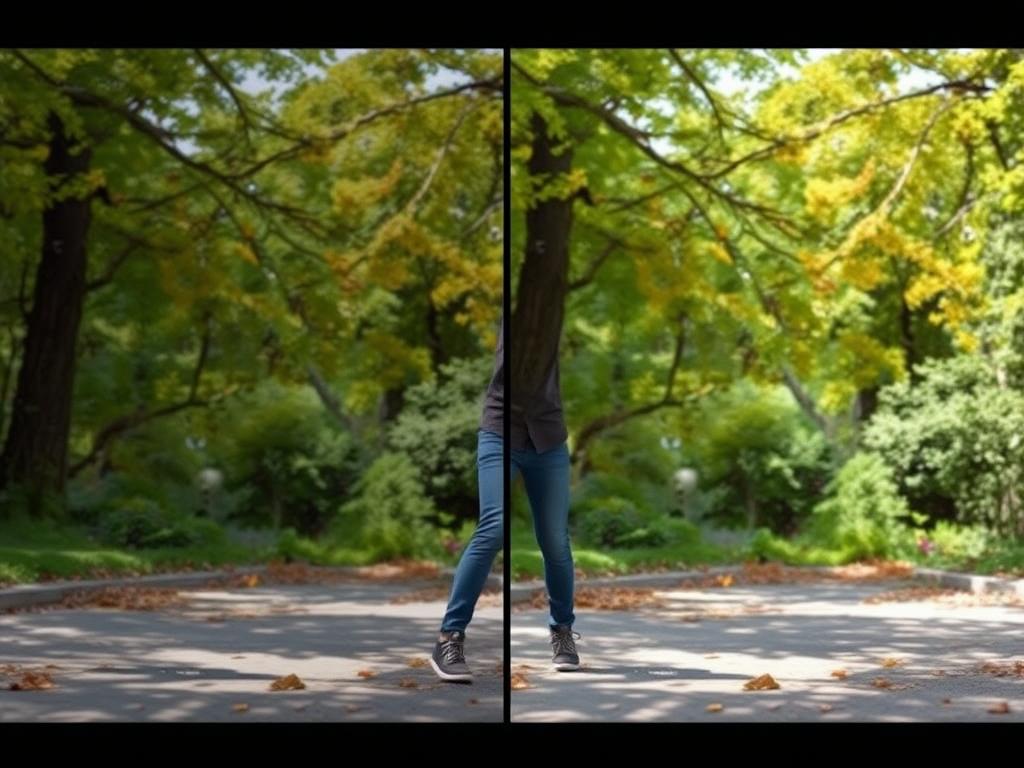
Video post-processing is a fascinating and essential part of video production that many people overlook. After capturing a video, the footage might look good, but it often requires a series of enhancements to truly shine. This is where video post-processing comes into play, transforming raw clips into polished pieces that captivate audiences. Whether you’re a hobbyist aiming to improve your home movies or a professional editor crafting cinematic experiences, understanding how to enhance quality after capture is crucial. In this article, we’ll explore the key techniques, tools, and concepts involved in video post-processing, giving you practical insight into how to make your videos look their best.
What Is Video Post-Processing?

At its core, video post-processing refers to the series of actions taken after recording to improve the visual and auditory quality of the footage. This step happens after the camera’s initial capture and includes operations such as color correction, noise reduction, sharpening, stabilization, and audio enhancement. Think of it like the final touchup an artist adds to a painting — video post-processing takes raw footage and polishes it to professional standards.
With advancements in technology, many video cameras and smartphones now come with basic in-camera post-processing. However, external software offers a far richer suite of options that provide finer controls to enhance quality after capture. This post-processing phase is vital because it helps fix imperfections that were unavoidable during filming, like shaky hands, poor lighting, or unwanted background noise.
Why Is Enhancing Quality Important?
The main reason for enhancing quality after capture is to ensure the video communicates the intended message clearly and attractively. Poor video quality can distract viewers and reduce engagement. For example, a wedding video with washed-out colors or shaky footage might fail to convey the emotional moments vividly. Similarly, a corporate video that looks amateurish can harm brand perception.
Here are some primary benefits of effective video post-processing:
- Improved Visual Appeal: Correcting colors, lighting, and focus can make videos more vibrant and easier to watch.
- Enhanced Storytelling: Smooth transitions and well-edited scenes help maintain viewer interest.
- Professionalism: High-quality videos reflect positively on creators or businesses.
- Fixing Errors: Post-processing can salvage footage affected by technical issues or mistakes during filming.
Key Techniques in Video Post-Processing
Understanding the essential techniques involved in video post-processing will empower you to significantly improve your videos. Let’s break down the most common and effective methods used by professionals and enthusiasts alike.
1. Color Correction and Grading
One of the first steps in enhancing video quality after capture is color correction. This technique balances the colors so that they appear natural and consistent throughout the video. For example, if your footage has a blue tint because it was shot under certain lighting, color correction helps neutralize that tint and restore natural skin tones and backgrounds.
After color correction, color grading adds a creative touch, adjusting hues and contrasts to establish the mood or style of the piece. Whether it’s a warm, nostalgic vibe or a cool, cinematic look, grading influences the audience’s emotional response.
2. Noise Reduction
Noise refers to visual distortions or graininess that often appear in low-light or high ISO footage. Noise reduction algorithms analyze the video frames and suppress these imperfections to give a cleaner image. This technique is vital for making older or poorly lit footage appear crisper and more professional.
3. Stabilization

Shaky footage can be jarring to viewers and reduce the perceived quality of the video. Video stabilization software detects small movements and digitally compensates for them to smooth out the shot. Stabilization can turn a handheld, shaky clip into a fluid and pleasant viewing experience.
4. Sharpening and Detail Enhancement

Sometimes, footage can look slightly blurred or dull. Sharpening techniques enhance the edges within frames, making details pop. However, this needs to be applied carefully to avoid introducing artifacts that reduce overall quality.
5. Audio Enhancement
Though this article focuses on visual enhancements, never underestimate the power of clear audio. Post-processing can remove background noise, enhance dialogue, and balance sound levels, all of which dramatically improve the viewer’s experience.
Popular Tools for Video Post-Processing
There is a wide range of software available that caters to different skill levels and needs. Below is a table highlighting some popular video post-processing tools with their notable features:
| Software | Key Features | Best For | Price |
|---|---|---|---|
| Adobe Premiere Pro | Advanced color grading, stabilization, noise reduction, multi-track editing | Professionals and advanced users | Subscription-based |
| DaVinci Resolve | Industry-leading color grading, editing, audio enhancement | All skill levels, especially colorists | Free and paid versions available |
| Final Cut Pro | Powerful editing, color tools, optimized for Mac | Mac users aiming for professional quality | One-time purchase |
| HitFilm Express | Good color correction, visual effects, user-friendly | Beginners and intermediate users | Free with paid add-ons |
| iMovie | Basic editing and color correction | Beginners and casual users | Free with Mac devices |
Each tool has its strengths, so your choice depends on your budget, level of expertise, and post-processing needs.
Step-by-Step Guide to Enhancing Quality After Capture
If you’re new to video post-processing, the process may seem overwhelming. Here’s a simple guide to help you get started and make the most out of your footage:
- Organize Your Footage: Import your raw video files and arrange them in the desired sequence.
- Apply Color Correction: Adjust white balance, exposure, and contrast to get natural colors.
- Reduce Noise: Use noise reduction tools especially for footage shot in low light.
- Stabilize Clips: Apply stabilization to shaky sections to smooth movement.
- Sharpen the Image: Enhance details carefully without overdoing it.
- Edit Audio: Clean up sound, adjust levels, and add background music or effects if needed.
- Add Effects and Transitions: Use transitions and effects to improve flow and style.
- Export in the Proper Format: Choose the right output settings for your audience and platform.
Tips for Getting the Best Results
Maximizing the impact of your video post-processing involves more than just running filters or effects. Here are a few tips that can help:
- Work on a Calibrated Monitor: Accurate colors are essential when doing color correction.
- Take Breaks: Fresh eyes help spot issues you might miss after long hours editing.
- Use High-Quality Export Settings: Avoid compression artifacts by exporting at a suitable bitrate.
- Learn Keyboard Shortcuts: They speed up your workflow drastically.
- Experiment with Presets: Many software includes presets that save time but always tweak them to fit your footage.
Common Challenges and How to Overcome Them
Video post-processing isn’t without its difficulties. Some common challenges include dealing with poor lighting, extensive noise, and mismatched colors from different cameras. The key to overcoming these is patience and experimentation. Here are solutions to frequent issues:
- Poor Lighting: Use brightness and contrast adjustments carefully, and consider adding artificial lighting in future shoots.
- Excessive Noise: Apply noise reduction sparingly to avoid loss of detail.
- Color Inconsistencies: Match clips by adjusting color temperature and saturation uniformly throughout the project.
- Shaky Footage: Combine stabilization with cropping to maintain framing.
Embracing these challenges as learning opportunities helps refine your post-processing skills over time.
Conclusion
Video post-processing is a powerful step in elevating your captured footage from average to extraordinary. By applying techniques like color correction, noise reduction, and stabilization, you can significantly enhance quality after capture. The right tools and a thoughtful, step-by-step approach allow you to fix issues, highlight creative vision, and engage your audience better. Whether you’re working on personal projects or professional productions, mastering video post-processing can make all the difference in how your story is told and experienced. So, don’t hesitate to dive into post-processing and transform your videos into stunning visual narratives that leave lasting impressions.